Making your own circuit board with the toner transfer process – 5 Methods tested.
The toner transfer process is a common method used to create printed circuit boards (PCBs) in a DIY setting or small-scale production. The process involves transferring a printed image of a circuit design onto a copper-clad board, which is then etched to remove the unneeded copper and leave the desired circuit pattern.
The process of transferring toner onto a circuit board remains the same, but the methods of achieving it can differ. I conducted a brief search on YouTube and tried the top four methods, as well as creating my own approach.
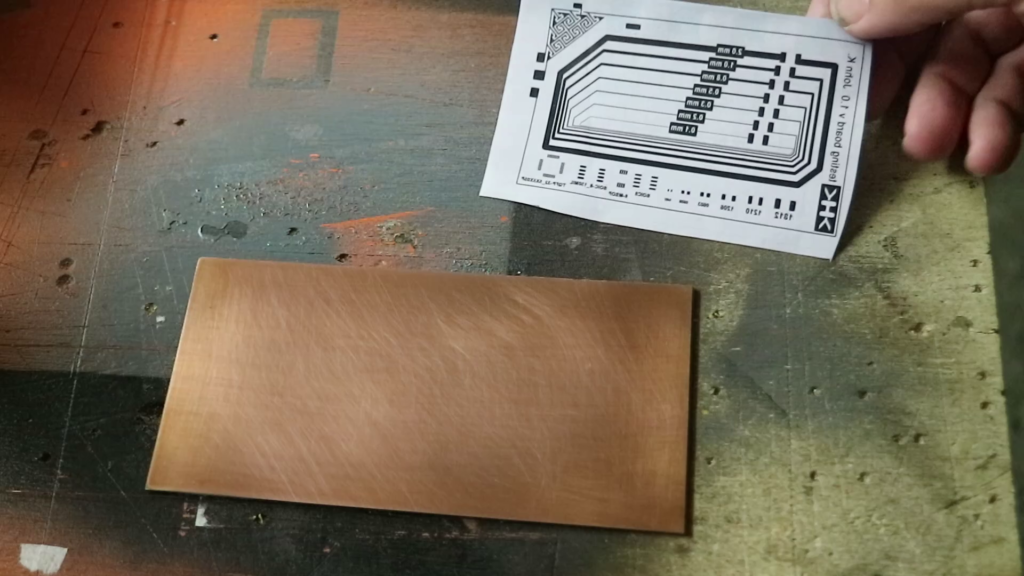
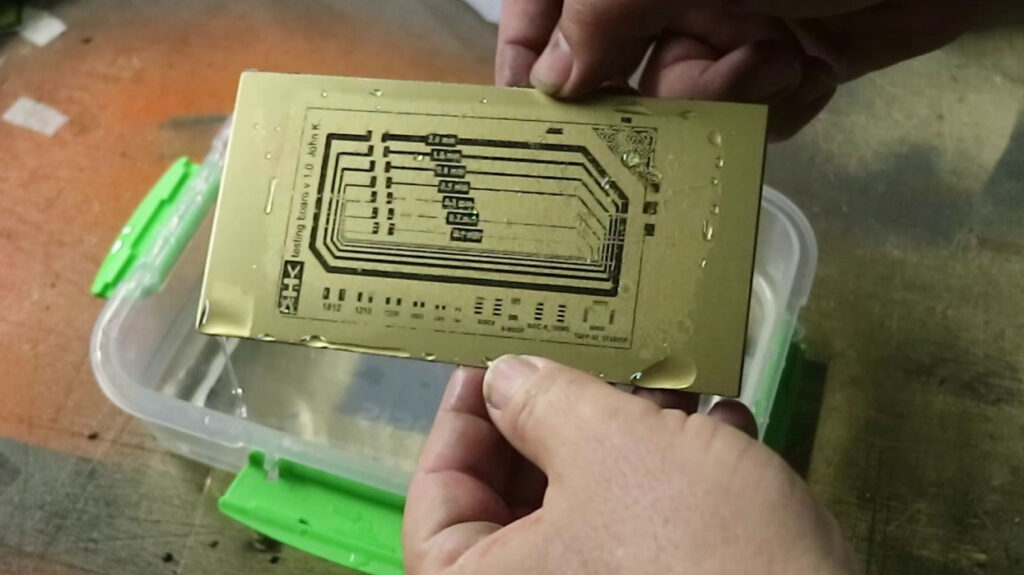
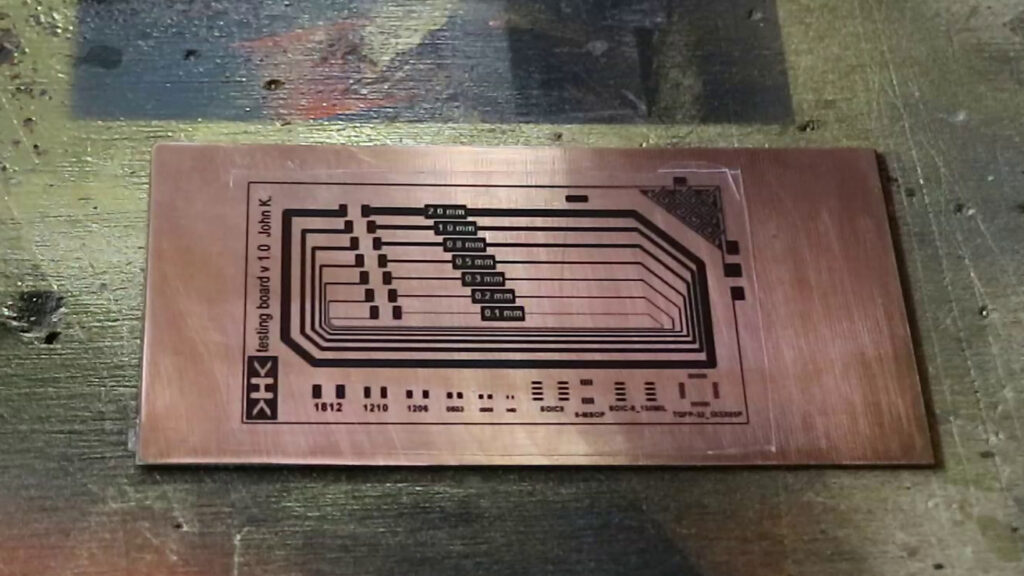
I utilized the test pattern from here, which posed a challenge for the toner transfer process due to its intricate design with numerous thin lines and small pads. In this experiment, I focused solely on the toner transfer and not the etching process. In general, a successful toner transfer usually ensures that the image will etch successfully as well.
It is essential to have an iron for this process. Additionally, the copper-clad board must be immaculately clean, free from any residue, including fingerprints. The cleanliness of the board is crucial for the success of the transfer, as any impurities can affect the outcome.
The process can only be completed with a toner based printer such as a laser printer. Inkjet printers can not be used.
The Methods.
1. The OG toner transfer.
Required tools
- Glossy paper
- Iron
- Water
This is the toner transfer process in its simplest form:
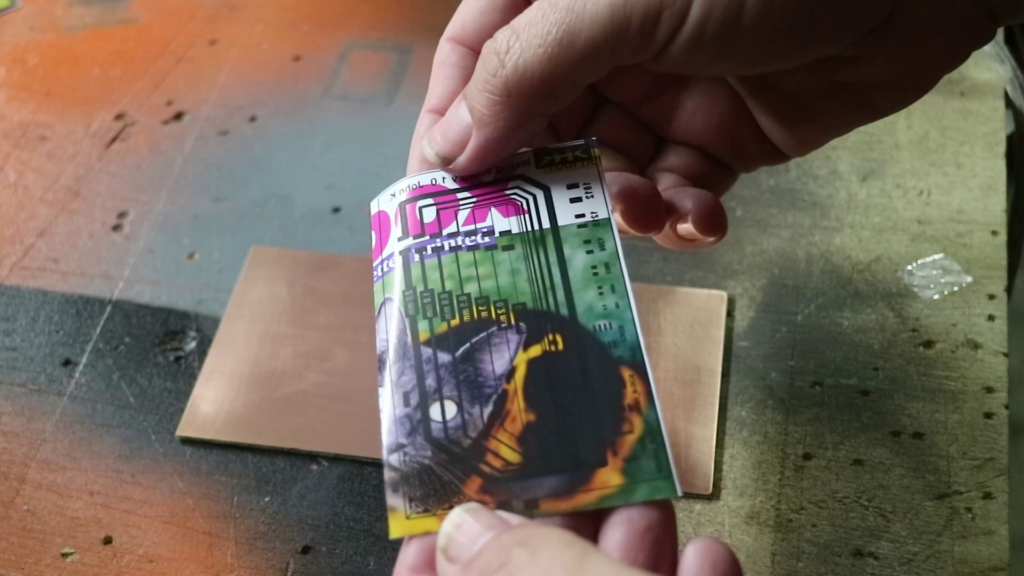
- Print the circuit board layout on glossy paper, such as magazine paper.
- Use a hot iron to transfer the toner onto the copper-clad board by applying pressure. The toner requires heat and pressure to move.
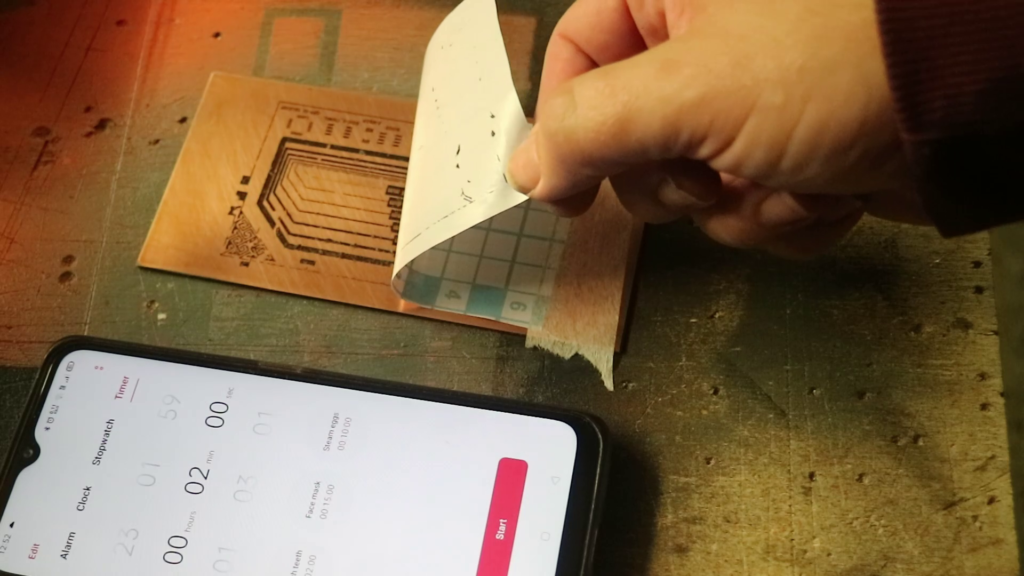
- After heating the paper for a few minutes, carefully place the board in a bowl of water.
- Gently remove the paper, leaving the toner behind on the copper-clad board.
2. Vinyl backing paper.
Required tools
- Vinyl wrap backing paper
- Iron
- Water
Check the original video here:
This toner transfer process uses vinyl wrap as the backing material. The vinyl wrap has a shiny side and a matte side with markings, and cannot be directly fed into the printer due to its tendency to curl and become flimsy. To resolve this issue, the vinyl wrap can be taped onto a regular piece of paper and then fed through the printer.
After printing, remove the vinyl wrap from the paper and place it onto the copper-clad board. Apply heat and pressure to the paper for several minutes, causing the toner to adhere to the copper. The backing paper from the vinyl wrap should then easily peel away.”
3. Acetone cocktail.
Required tools
- Glossy paper
- Acetone (100%)
- Isopropyl alcohol (100%)
- Water
Check the original video here:
By diluting acetone with isopropyl alcohol, the effectiveness of the acetone is reduced, making the toner somewhat sticky and more able to adhere to the copper-clad board.
Do not use acetone that contains any impurities like moisturizer. Most chemist or supermarket purchased acetone contains chemicals other than acetone.
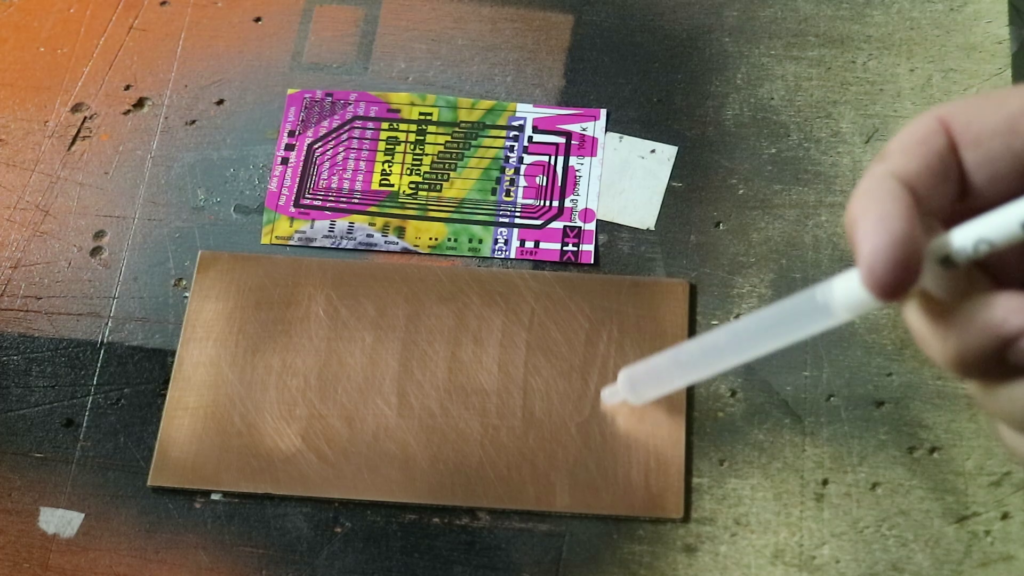
To use this process, clean both the print on the glossy paper and the copper-clad board with isopropyl alcohol. Then, coat the board with the acetone and isopropyl alcohol mixture. Place the print onto the board and after 10 seconds apply pressure on the print. Finally, immerse the board in water, and the paper should peel off, revealing the toner that has adhered to the board
4. Spray paint
Required tools
- Spray paint (containing acetone)
- Vinyl backing paper
- Water
Check the orignal video here:
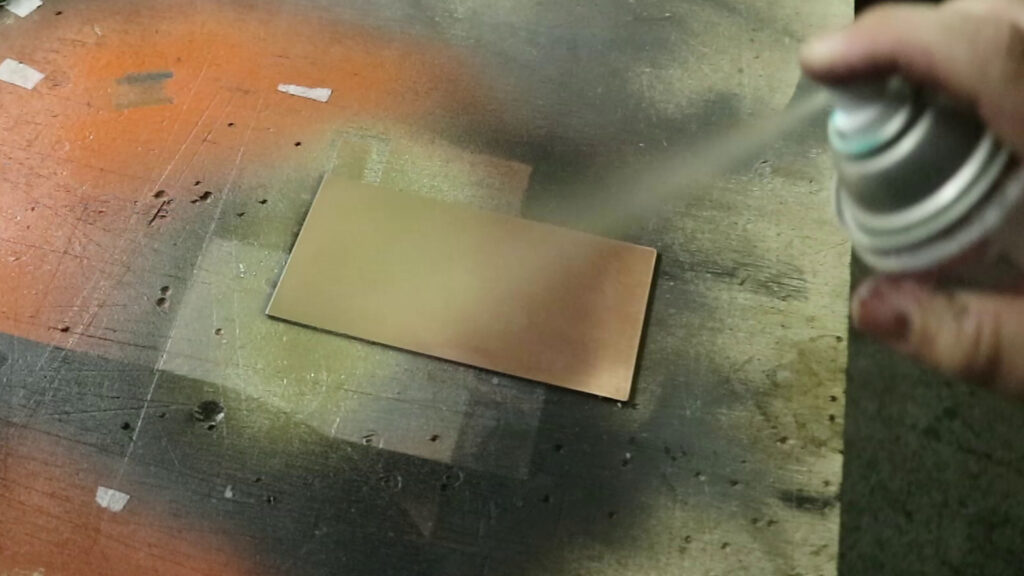
The first step in this process is to apply paint containing acetone onto a copper-clad board. After the board is painted, place a print on vinal backing paper onto it, and gently rub the tracks so that the toner adheres to the paint. Next, soak the board in water to separate the paper from the board.
The next step is to remove the paint that covers the areas without toner, which is where we want to etch. To do this, gently dab the paint with a small amount of isopropyl alcohol using a rag, without rubbing. Avoid using excessive amounts of IPA as it may dissolve the paint layer and disrupt the toner.
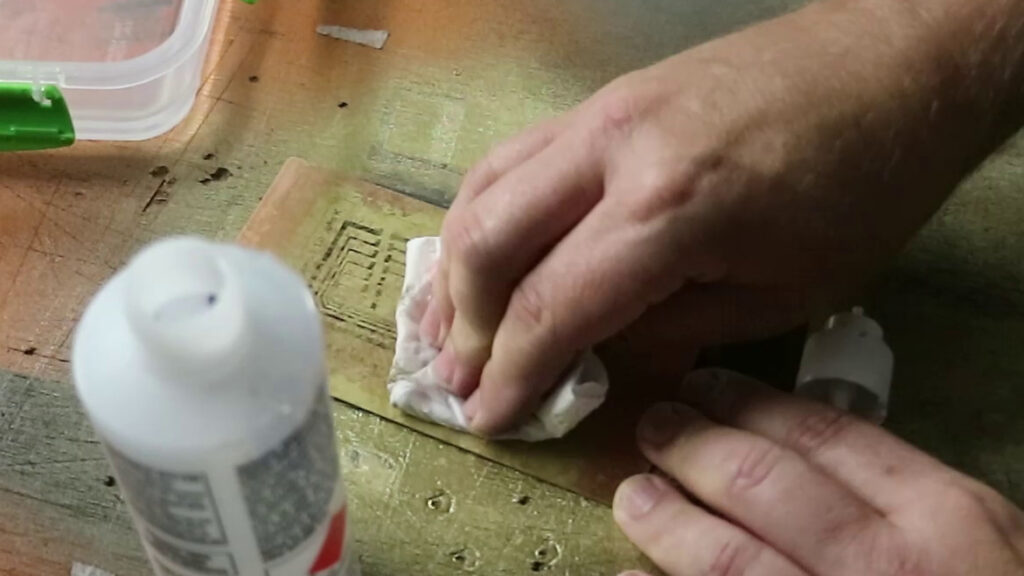
If you are succsesfull the toner will be left behind while the paint has been removed.
5. Transparency film
Required tools
- Transparency film
- Iron
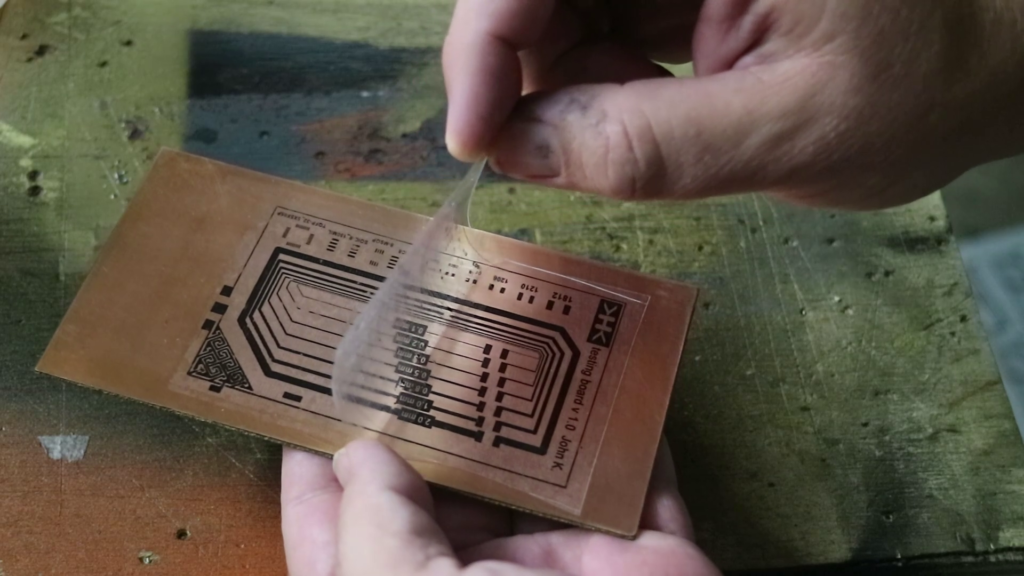
In this procedure, transparency film is utilized to transfer the toner. First, print your design onto the transparency film. Then, use an iron to apply pressure onto the transparency and the board for a few minutes.
Place the board in the fridge to cool. This seems to ensure a better transfer.
Carefully peel the film off the board.
Conclusion
For me the transparecy method had the best result. With a bit of practice all the other methods may work just as well. Check the table below for my notes on each.
| Method | Heat | Water | Pressure | Notes |
| Toner transfer | ✔️ | ✔️ | ✔️ | The original verson, generally works pretty well when executed correctly. |
| Vinyl backing paper | ✔️ | ✔️ | ✔️ | Great transfer, make sure your vinyl is not damaged as this will effect the transfer. |
| Acetone cocktail | ❌ | ✔️ | ✔️ | I couldn’t really get this to work effectivly. |
| Spray paint | ❌ | ✔️ | ❌ | Great transfer but removing the paint was tricky. Would work well with thick lines. |
| Transparency | ✔️ | ❌ | ✔️ | Overall the best method so far. |


You May Also Like
Low polygon WLED Neopixel cement lamp completed
PSX controlled RC car