Waterproofing WLED
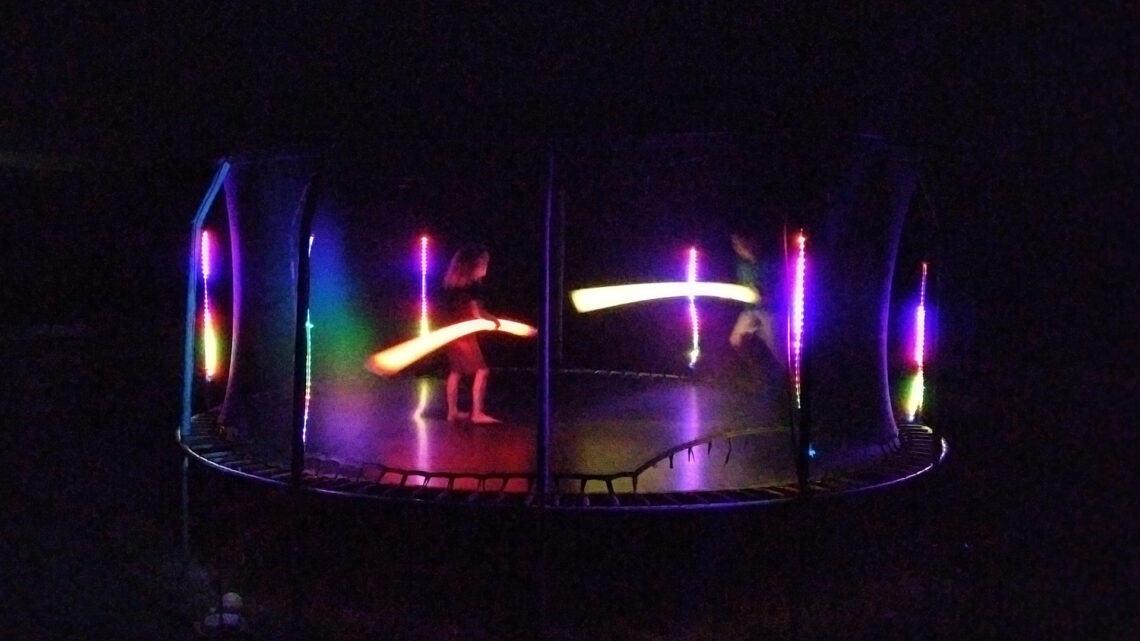
I started out my Youtube channel with a video about WLED. Well, it was actually about a Larson scanner cap but in earnest, my videos were about WLED. The main reason being my boys wanted some sort of lighting on the trampoline for nighttime jumping.

The idea for that project was that lights would stay out on the trampoline and when I wanted to use them we could just plug in the 18650 power banks.
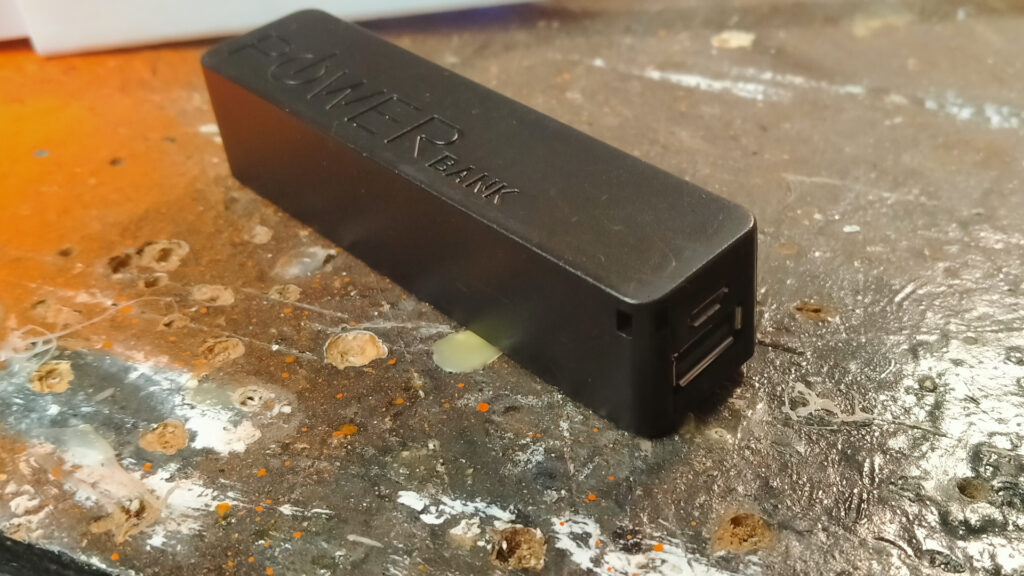
There were 12 power banks that I purchased off Aliexpress they were only a few dollars each and I sourced the 18650 (battery) locally for a few dollars also. The challenge at that point was charging 12 power banks at once which lead to the mega charger project.
This worked pretty well. The batteries would work for a few days and I could then charge them all in just a few hours when they were dead. Almost perfect.
I spent a bit of time trying to keep water out of the unit by creating galleries in the mating faces of the case and lid. I then filled these with silicone along with the tube holding the neopixel strip. This tube is a 10mm clear plastic that holds the strip upright. Originally I was using a plastic hose which wasn’t ideal. You can see my different iterations in my range test video.
I used a regular USB male connector to connect the battery to the rest of the unit.

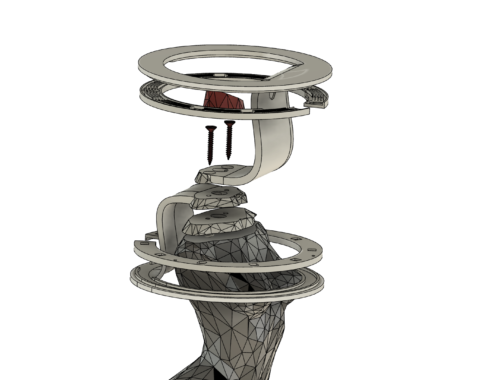
In the photo above you can see the ESP-01 & WS2812, daughter board, with the battery (cover removed) plugged into the male USB connector. Note the small gallery running around the outside of the area containing the electronics.
The problems began quite quickly with the contacts of this male plug started rusting pretty quickly. It didn’t really need rain for this to start happening. Just the regular condensation of any night would cause an issue. You could plug the battery in a few times to create a clean enough contact but this rust quickly moved to the batteries themselves. Towards the end of summer, the lights were dropping like flies with only a few functioning.
Version 2
I have been putting it off for a while as I know the massive undertaking required but it is time to revisit these lights. We are already well into summer so this needs attention before winter turns up.
My theory this time around is to completely seal the unit so moisture has no ability to access the electronics or battery connectors. Turning the unit on or off would also require a waterproof solution.
Initially, I was looking at a toggle switch with a rubber cover. Although this might work to start with I can see it working loose and I still have a hole for moisture to work its way in.
I have therefore opted for a reed switch and some small magnets on a sliding cover to turn the light on and off.
My first testing found these cheap reed switches would actually stick shut when the current required to enable the LED strip was applied. I could only turn the light on but not turn it off! The only solution is to disconnect the battery. Seeing how this will eventually all be sealed this isn’t really an option.
I then incorporated a MOSFET in the circuit. The little current required to activate the MOSFET meant the reed switch would now open its contacts when the magnet was removed.
The power bank charger units were going to be cannibalized from the old power banks. This wasn’t really ideal as there was no easy access to the positive supply line. Also, they would need to be mounted horizontally taking up a bit of real estate.
My local supplier sourced a nifty little BMS board that will charge a 18650 as well as boost the voltage to 5V.
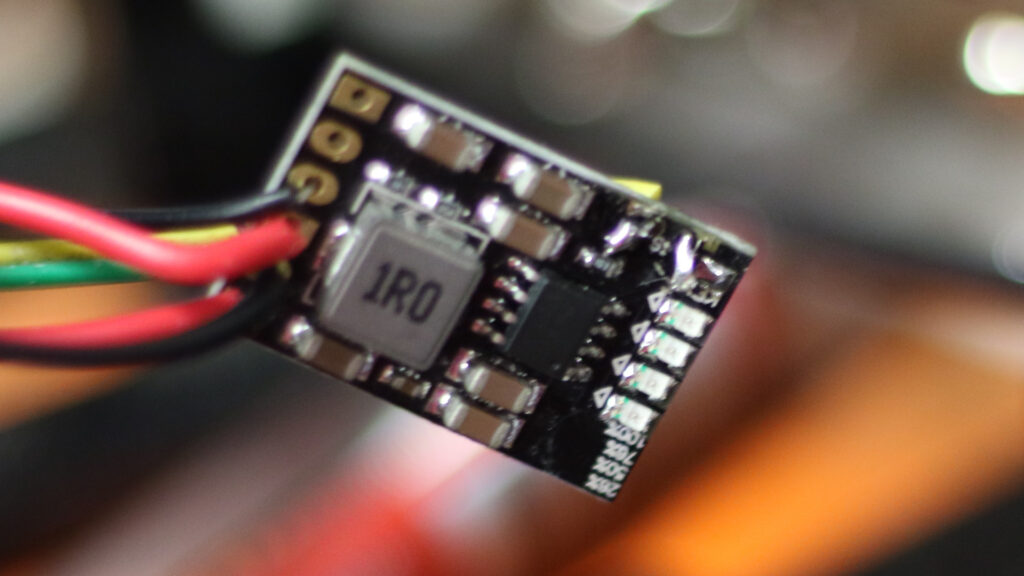
The board is really small and takes up a fraction of the space of the old BMS.
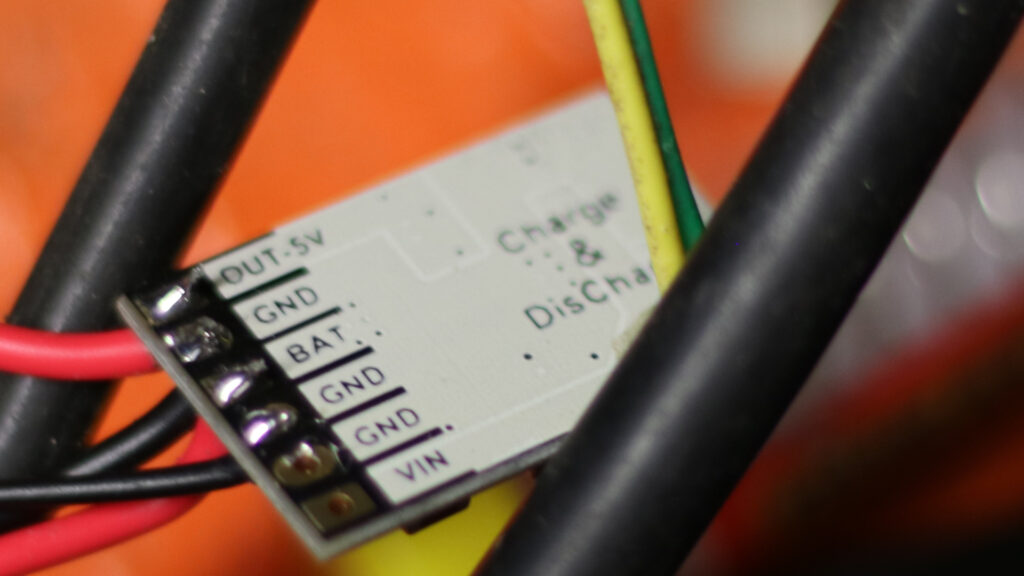
This for some reason presented another issue where this board will not function with the MOSFET and reed switch combo!
This BMS does come with a button which was a concern anyway as it wasn’t documented well as to what it does. Do I always have to click it to work? The workaround is to replace this switch with the reed switch directly, no need for the MOSFET anymore. If the switch is activated once the power is supplied. Double tap and the power is removed. Almost too good to be true so I will see how this pans out.
The next challenge will be getting power into the unit without water. Here I intend to have two screws act as contacts and these will in turn rest on copper strips.
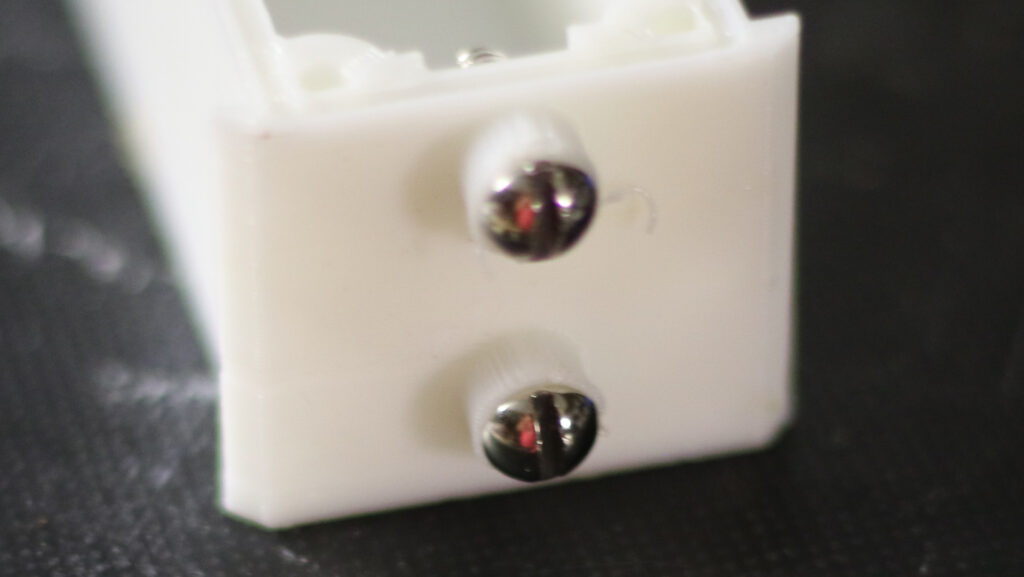
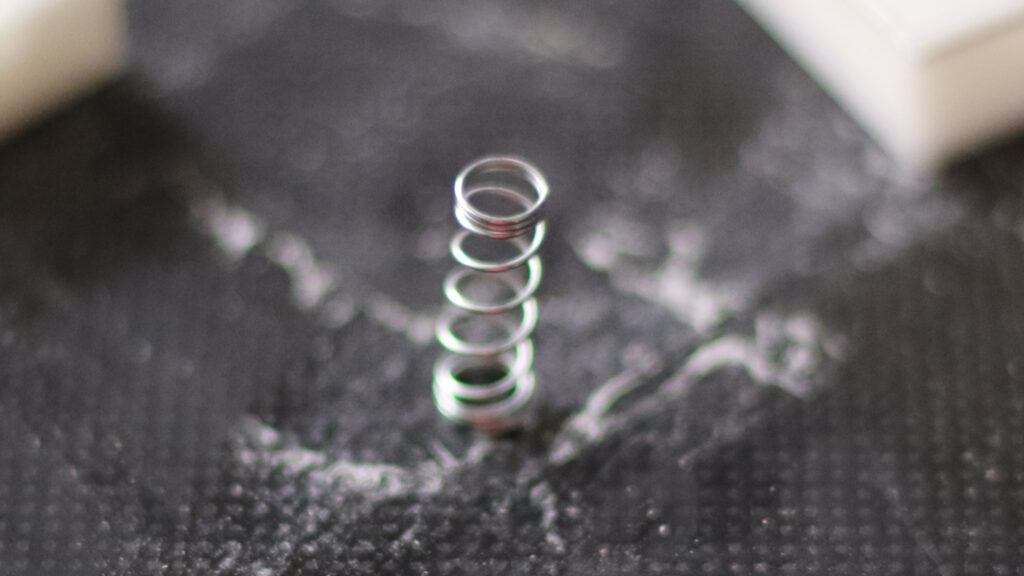
I need a way to ensure good contact so I have created a spring-loaded type arrangement. I purchased a dozen clicky pens from K-Mart and robbed the springs from these for a few dollars.
These will sit in two contacts that push up against the bottom of the unit.
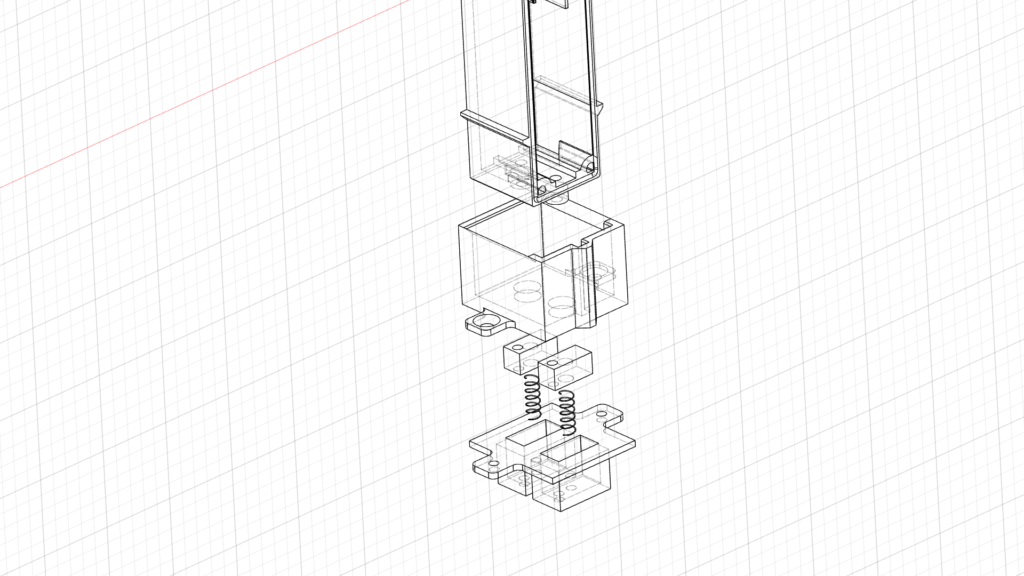

Looking down from above you can see where the contacts on the end unit slot in the holes to reach the contacts. It is keyed to make sure it is not possible to plug the unit in back to front.

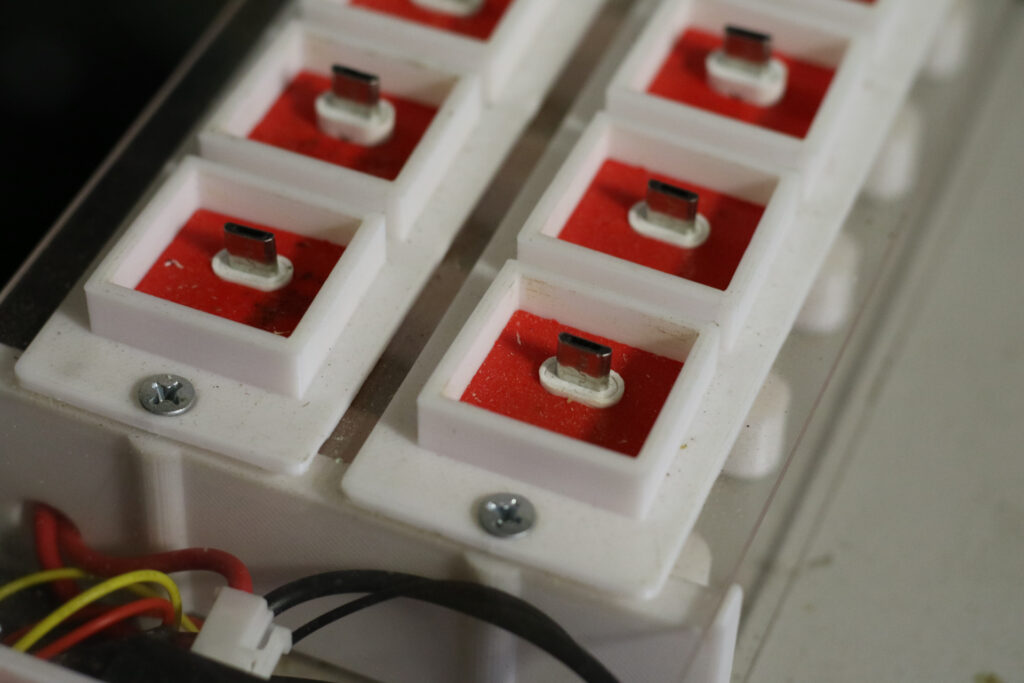
The mega charger doesn’t have the right connectors so I will either remove the Micro USB plugs or start fresh.
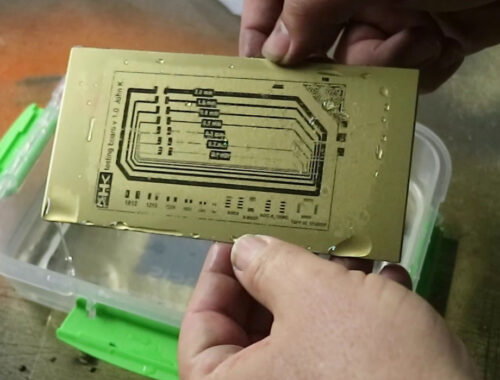
I have a POC printing at the moment so hopefully, we will be back in production shortly!