Defender Cocktail table gives new life to an old laptop
The background
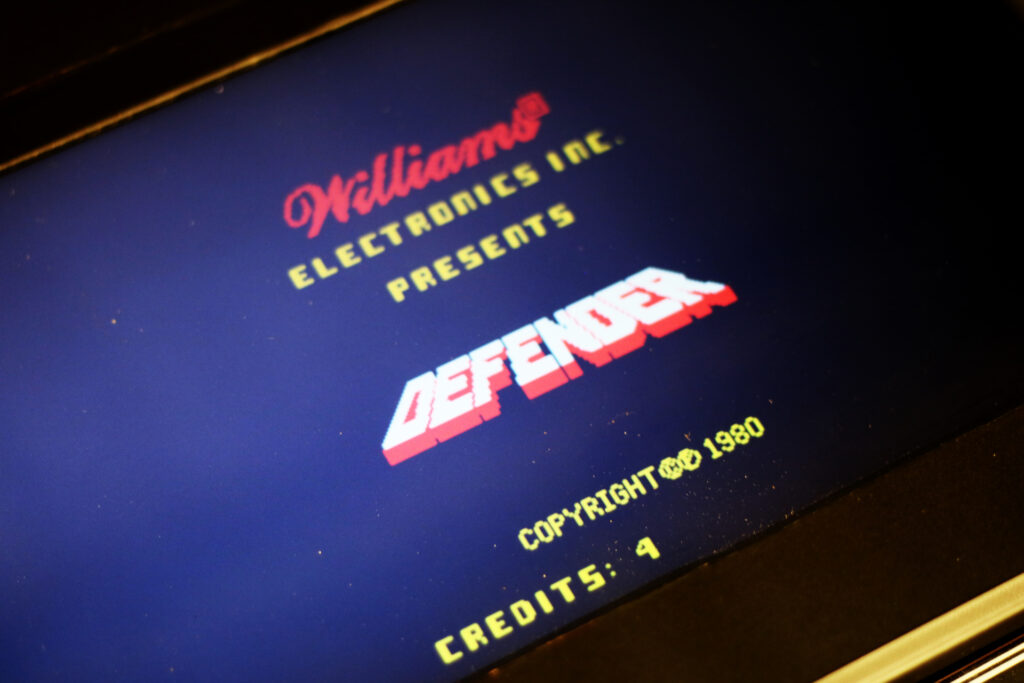
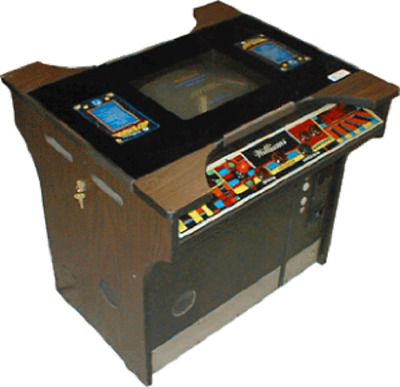
During a clean-out of my shed, I stumbled upon an old, discarded Dell laptop. Despite its inability to properly boot up, I saw potential in the device. I had always dreamed of owning an arcade machine that could play Defender, a classic game I used to play at the skating rink in my youth. For just 20 cents per game, I eagerly spent my allowance on it, but I never quite mastered the game. The arcade machine was unique in its design, featuring a cocktail table instead of the typical upright structure.
I had learned about MAME, an arcade emulation program that allows you to play classic arcade games by loading them into the program. To truly recapture the experience, I knew I needed the same buttons and joystick found on the original cocktail table arcade machines. I was able to source these components easily, either from China or locally. I ordered the buttons, joystick, and interface board, and after wiping the laptop’s drive, I installed Lubuntu, a lightweight Linux operating system that I found through a Google search. The installation of MAME was straightforward and simple.
sudo apt install mameWith a quick Google search, I was able to find the ROMs and successfully play Defender on my newly installed MAME. The next challenge was to design a case to house all the components. I initially tried using an AI tool, but the results were not what I was looking for. After some reflection, I decided to pay homage to the original arcade machine that had captivated me years ago by building a smaller but respectful replica of the original.
The build
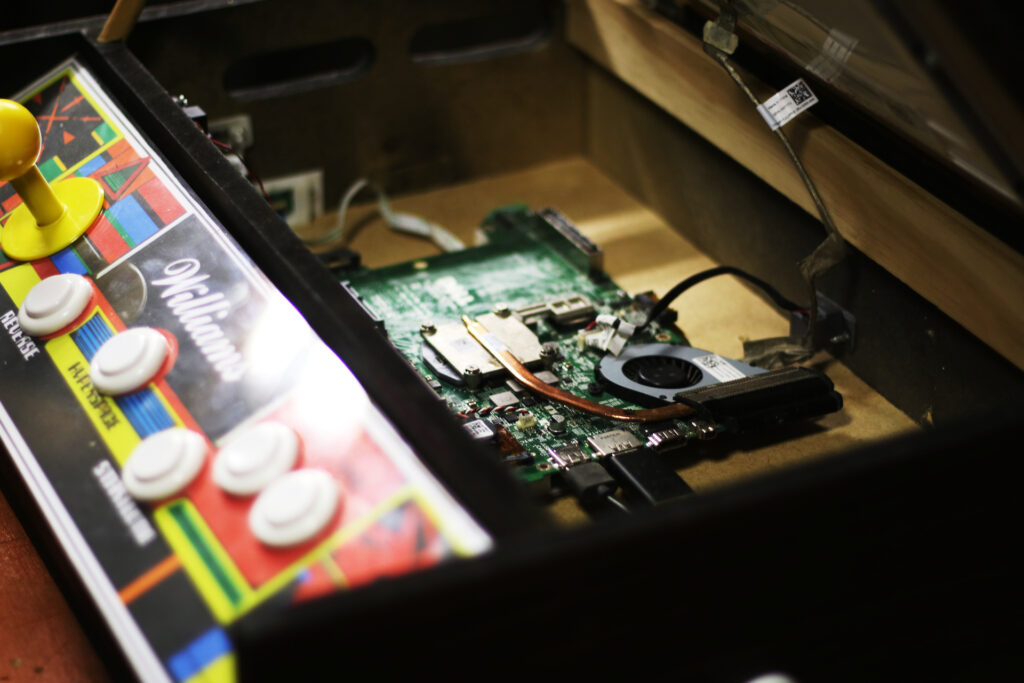
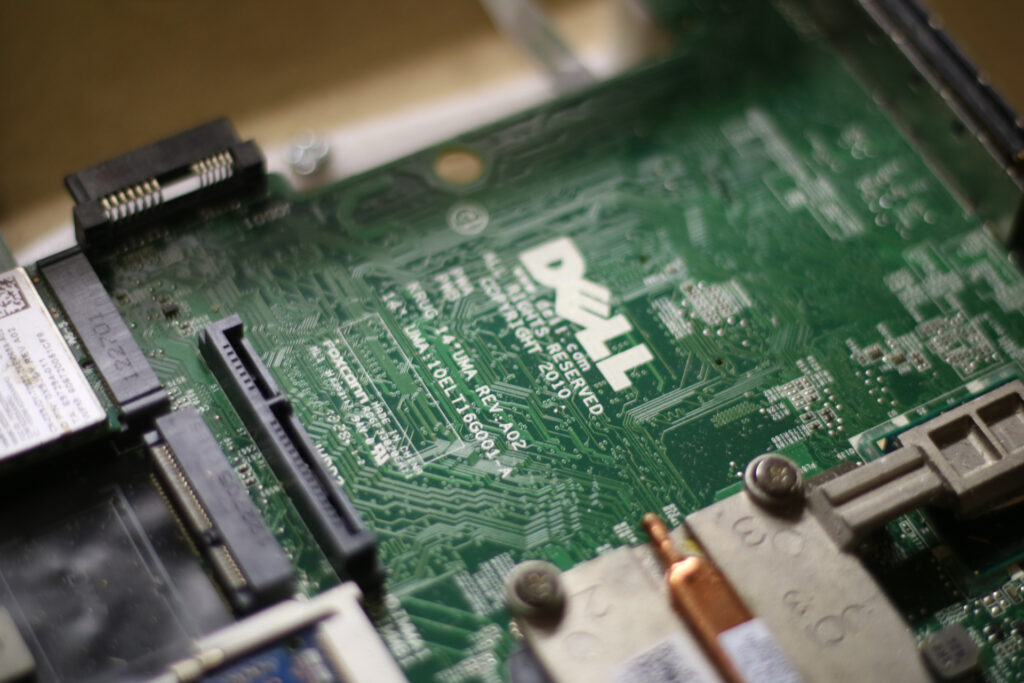
My first step was to remove the laptop from its original case. I wanted to eliminate any trace of the old case and retain only the minimum necessary components to make the machine work. Being a Dell laptop, I was concerned that removing parts might cause issues, but I stripped it back as far as I could. To my surprise, the motherboard booted up without any complaints when I hit the power button.
One issue with stripping a laptop down to its bare components is that the original chassis often serves as a support structure for various internal components such as speakers, daughter boards, and WiFi boards. With the removal of the chassis, the hard drive was no longer securely held in place. It was not practical or reliable to use a 3D-printed clamping system, so I had to find another solution.
I decided to clone the working drive over to a USB stick. This way I could do away with the HDD drive and use the USB on another computer if I wanted to.
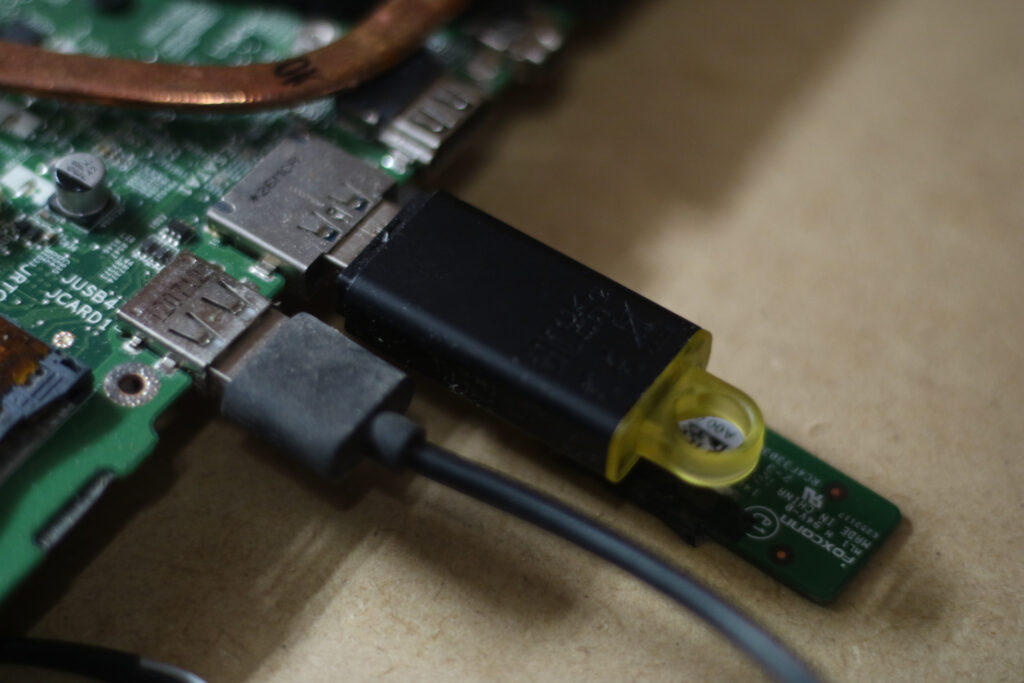
There appears to be no performance degradation when using the USB.
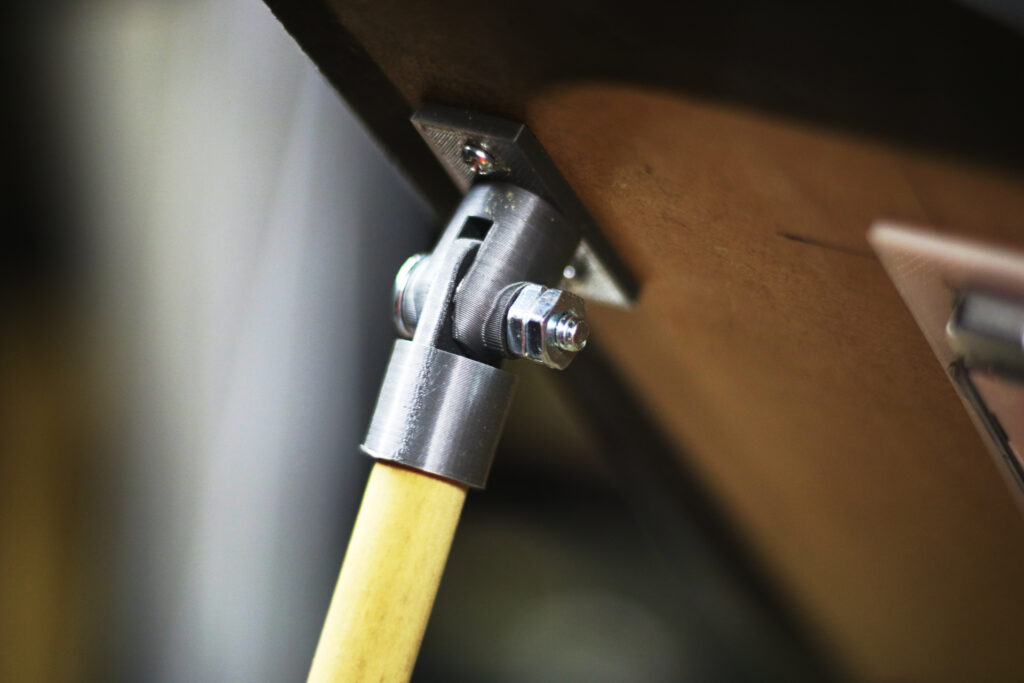
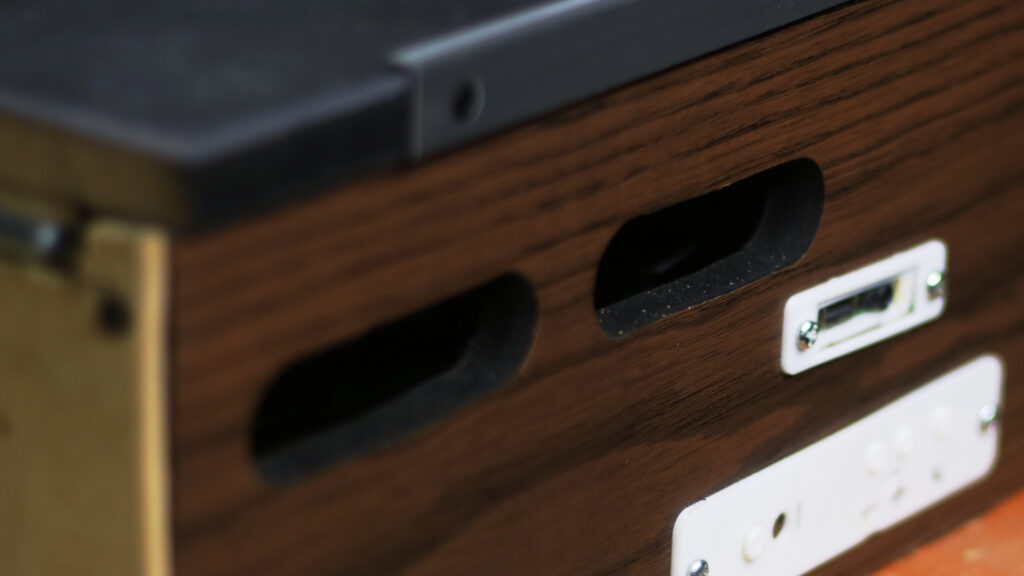
Next, I designed the case for the arcade machine. I jotted down my ideas on paper and then transferred them to Fusion 360 to ensure accurate measurements. The old-style laptop I was using had some unique features, such as external buttons for power and audio, and a USB port and earphone socket that were connected to a daughter board via a cable. I designed holders for these buttons and ports so they would be accessible from the side of the case.
I also needed to create a mount for the motherboard. I scanned the motherboard and imported it into Inkscape, then created an SVG and imported it into Fusion 360. This allowed me to carefully design a mounting bracket that lined up perfectly with the motherboard’s mounting holes.
Another issue was that the control panel of the original arcade machine was huge.
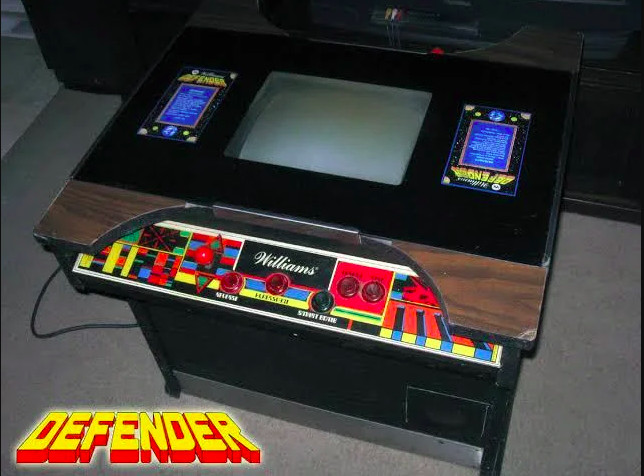
I found a clear photo of the control panel removed from an arcade machine on the web and used it as a reference. I copied the design and trimmed down the sides to fit the size I wanted for my machine. The button positions were identical to the original to maintain authenticity.
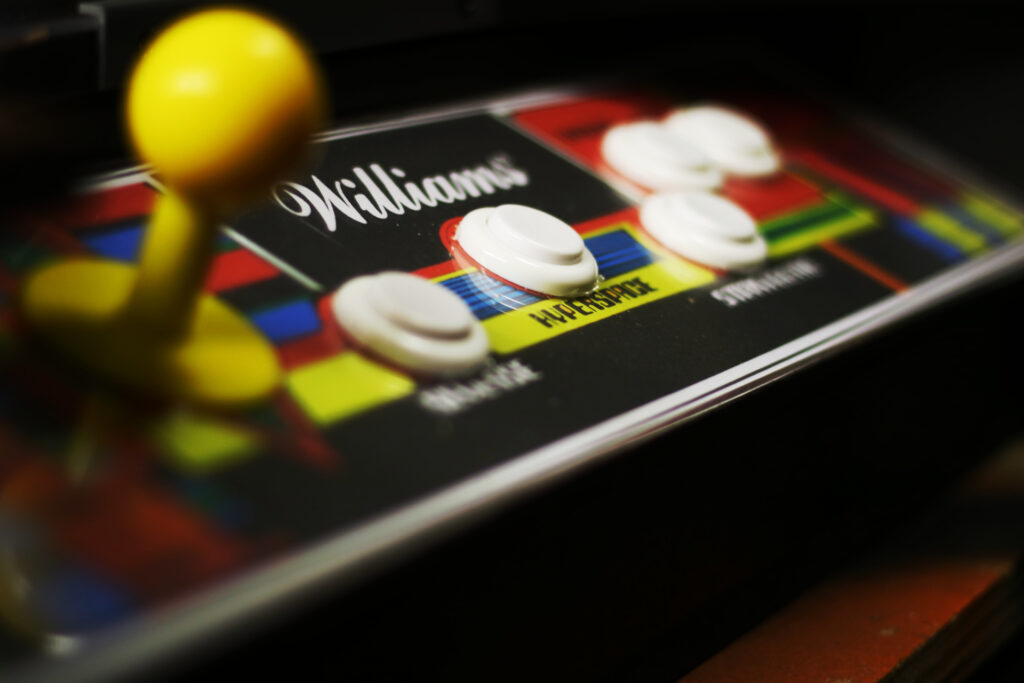
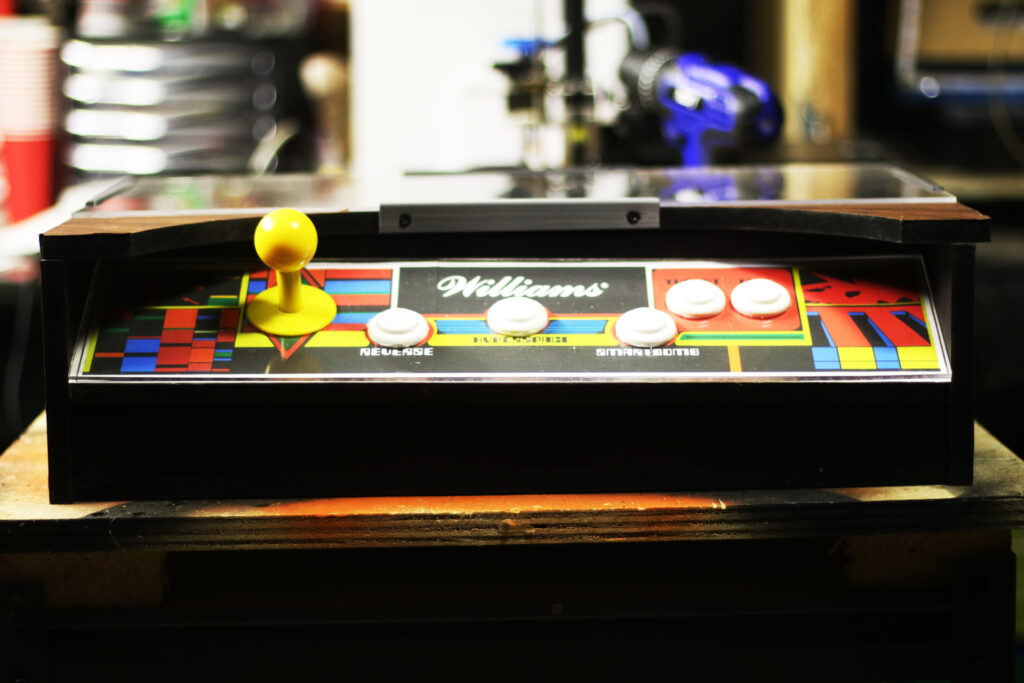
The updated control panel was printed on an inkjet printer in two sections and glued to MDF for stability. Since it was a cocktail table, I wanted to protect the print from potential liquid damage. I placed an acrylic sheet on top for protection. Cutting acrylic can be challenging, check out my method below.
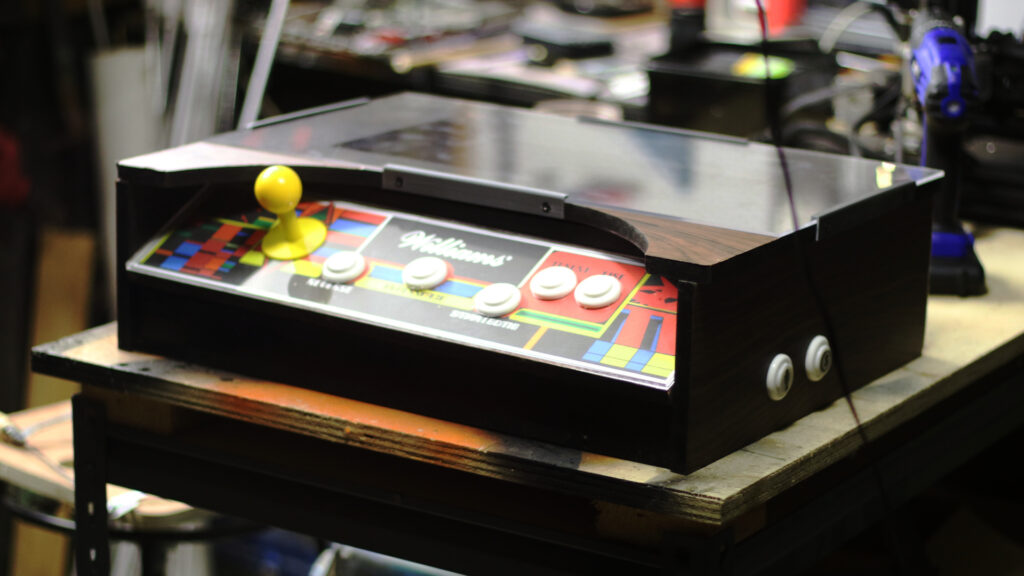
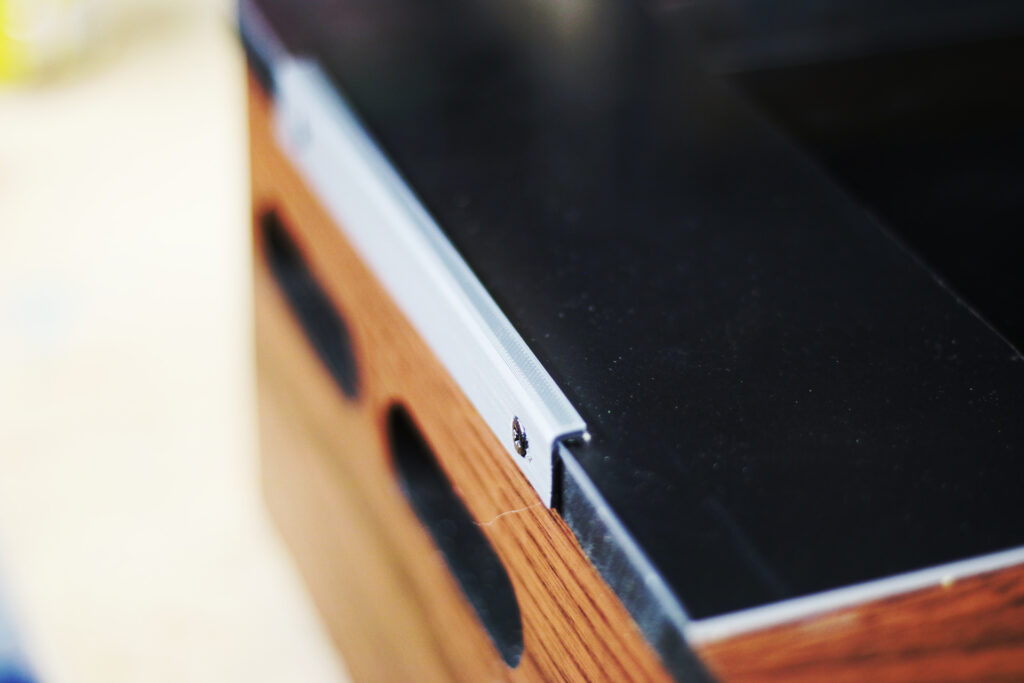
I aimed to make the machine look like it was straight out of the same era, as if Williams themselves had released a home edition of Defender. To achieve this, I cut slots in the side just like the original. These slots served a practical purpose as well by keeping the laptop cool.
The brackets that keep the acrylic down are the same as the orignal had.
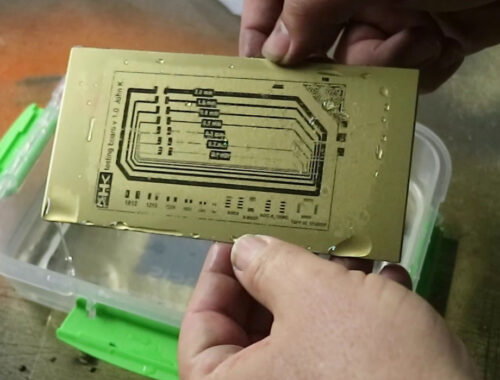
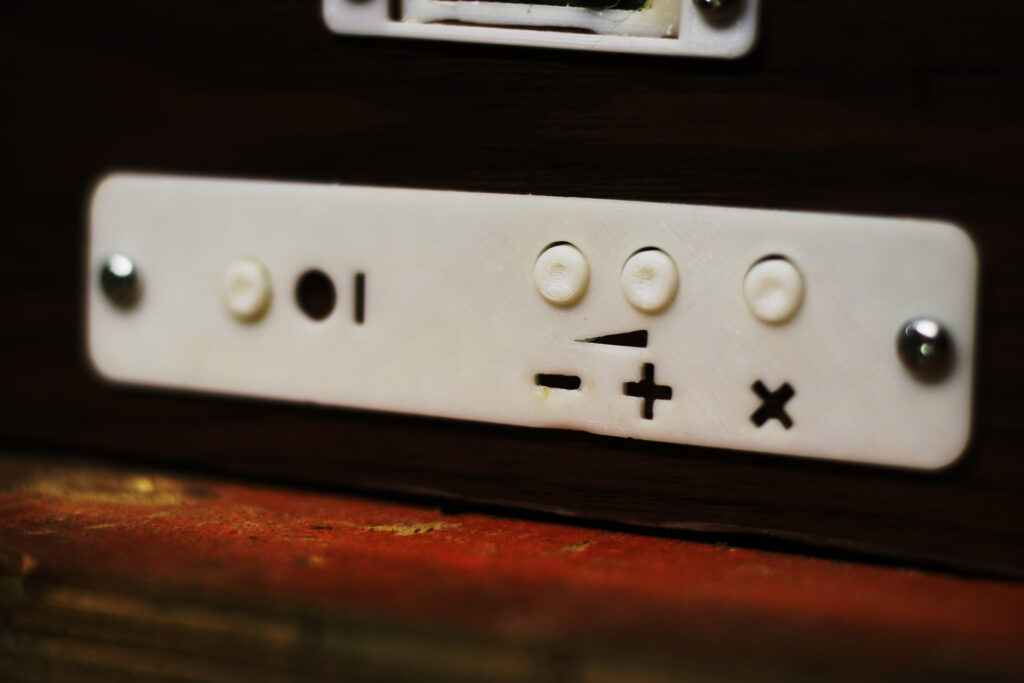
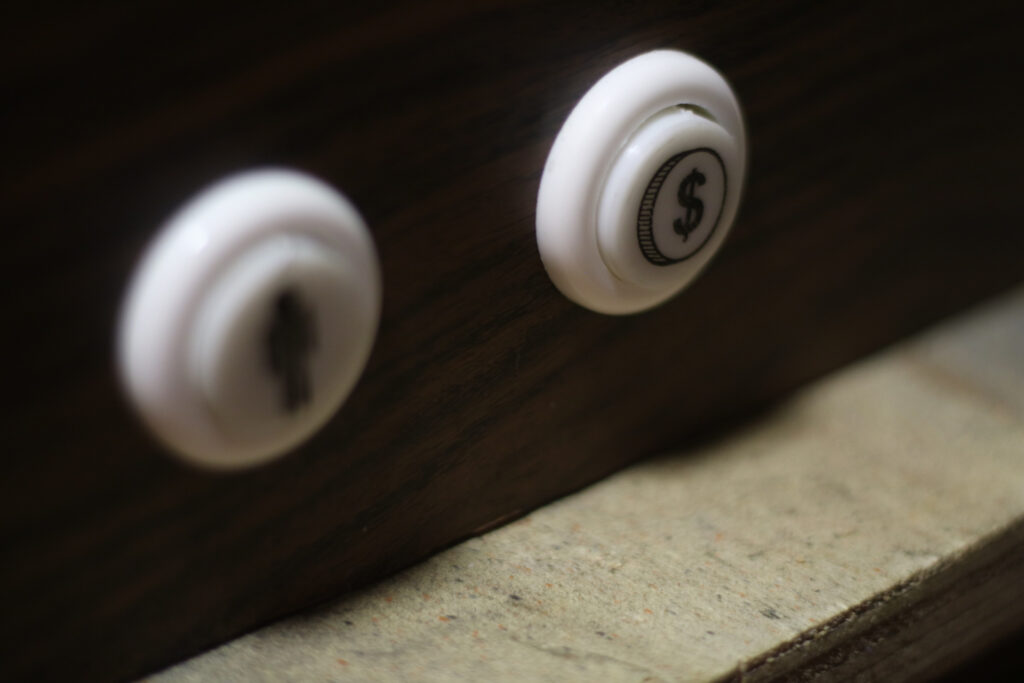
To add the final touch, I had to label the two buttons on the side of the machine for Player selection and adding credits. Instead of traditional labeling, I tried the FDM toner transfer technique. The arcade buttons had flat tops, so I designed the labels in Fusion 360 and printed them onto OHP film. The process turned out to be successful and I plan to create a video showcasing it soon.
This brought the project to and end and I finally had my very own Defender!. Check the photos below for more details including “service mode”.
This is a brief overview of this build. Make sure you subscribe to my channel for a full video out soon.