WLED Matrix Displays and Sound Reactive Effects: Setup in a Few Minutes
LED matrices come in all shapes and sizes, but underneath they’re all the same thing: regular addressable LEDs laid out in a grid. WLED makes setting one up easy, and adding sound reactivity takes only a little more work. Here’s how I set up both.
My test matrix
For testing, I made a matrix from a regular strip of WS2812 LEDs, wired as one continuous line. This layout is commonly called snake or serpentine: the strip runs along one row, turns around, and runs back along the next.
There are also variants where each row starts again from the same side, so the next pixel is always at the top of the row. I’m not sure how common those are, but WLED can handle either layout.
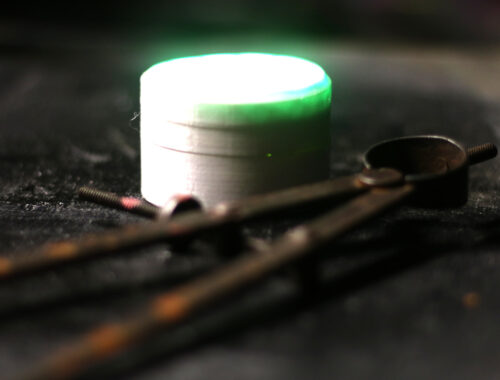
My matrix is 8 pixels wide by 10 pixels high, and I’m running it from an ESP32-S3, following on from my last video. I also designed a cover to diffuse the light, and it works well. Be warned that the camera struggles with how bright it is.
Configuring the matrix in WLED
I’m using PC mode in the WLED UI because it’s easier to see what’s going on.
- Go to Config → 2D Configuration.
- If you have multiple panels, you’d add them here. I only have one.
- Set where your first pixel is. Mine is top left.
- Set the orientation. Mine is vertical, running up and down.
- Tick serpentine if your strip snakes back and forth.
- Enter the panel size: 8 wide by 10 high.
- Hit Save.
WLED draws a graphic of the layout as you change the settings, so you can check it matches your hardware.
Back on the main page, you can filter the effects list to matrix-style effects only. The other useful filter is sound reactive.
Making it react to sound
The graphic EQ in the intro, reacting to my voice, uses a microphone wired directly to the ESP. I used an I2S microphone.
WLED also supports analog mics, but I’d avoid them. They’re pretty terrible, and the small saving isn’t worth the difference in quality.
Enabling audio reactive
- Go to Config → Usermods.
- Scroll down and enable Audio Reactive.
- For the mic type, choose Generic I2S. That’s what I’m using, and it’s a very common one.
- Set the pins.
Wiring the pins

The back of the mic has markings that match the pin fields in WLED. Each one needs to be assigned to a pin on your microcontroller. Which pins work varies between microcontrollers, so check the WLED wiki for yours. The S3 lets me use any pin I like, so I wired them directly.
Gotcha: you need to connect the LR pin to GND or the mic won’t work. The MCLK pin isn’t used, so set it to unused. The other settings don’t need changing. Save, and you’re done.
Testing it
Click through the sound reactive matrix effects. If everything is wired correctly, the lights will dance, and the mic is super sensitive.
If you see nothing: touch the contacts on the mic. If the lights rise and fall sharply, you have a pin wiring issue.
Wrap-up
The WLED developers have made matrix panels and sound reactive effects very easy to get running. The basics take only a couple of minutes.
Watch the full video above, and subscribe for more WLED content.